The latch assembly for the Beckman Spinchron centrifuge is Beckman part # 360549.
- Make sure the lid is unlatched and open. If the lid won’t open with the normal mechanism, use the manual release on the front. Locate the manual release under the timer knob and turn it 90 degrees clockwise with a small flat head screwdriver.

- Turn off the centrifuge and unplug/disconnect the power.
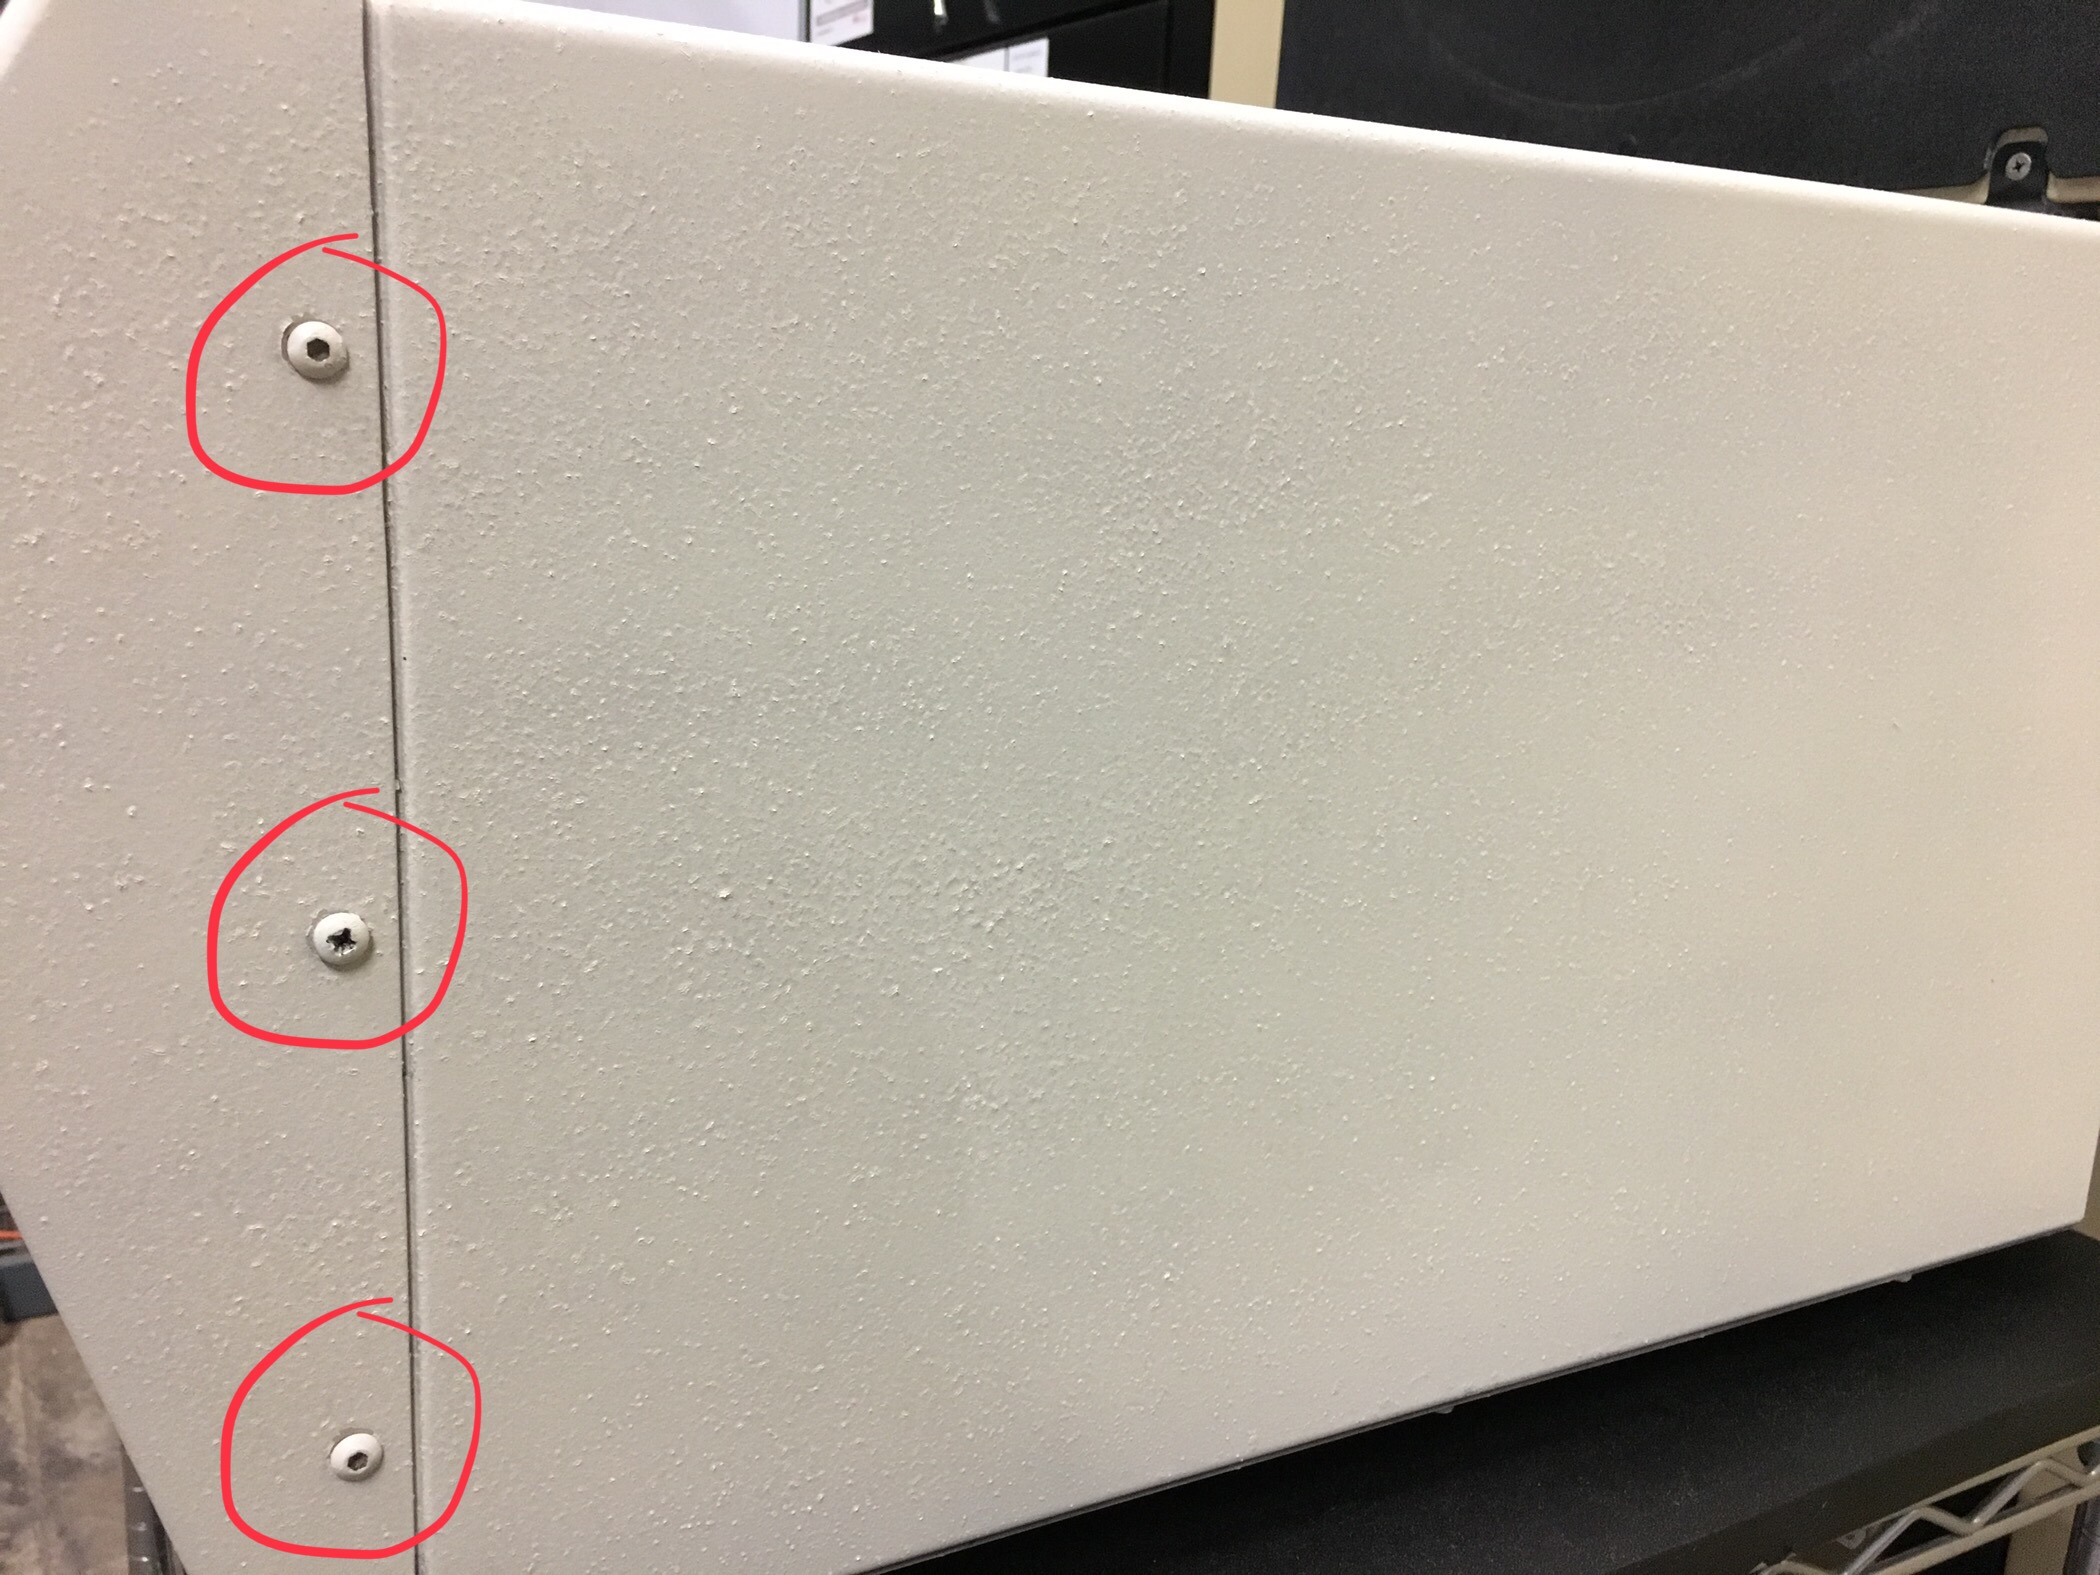
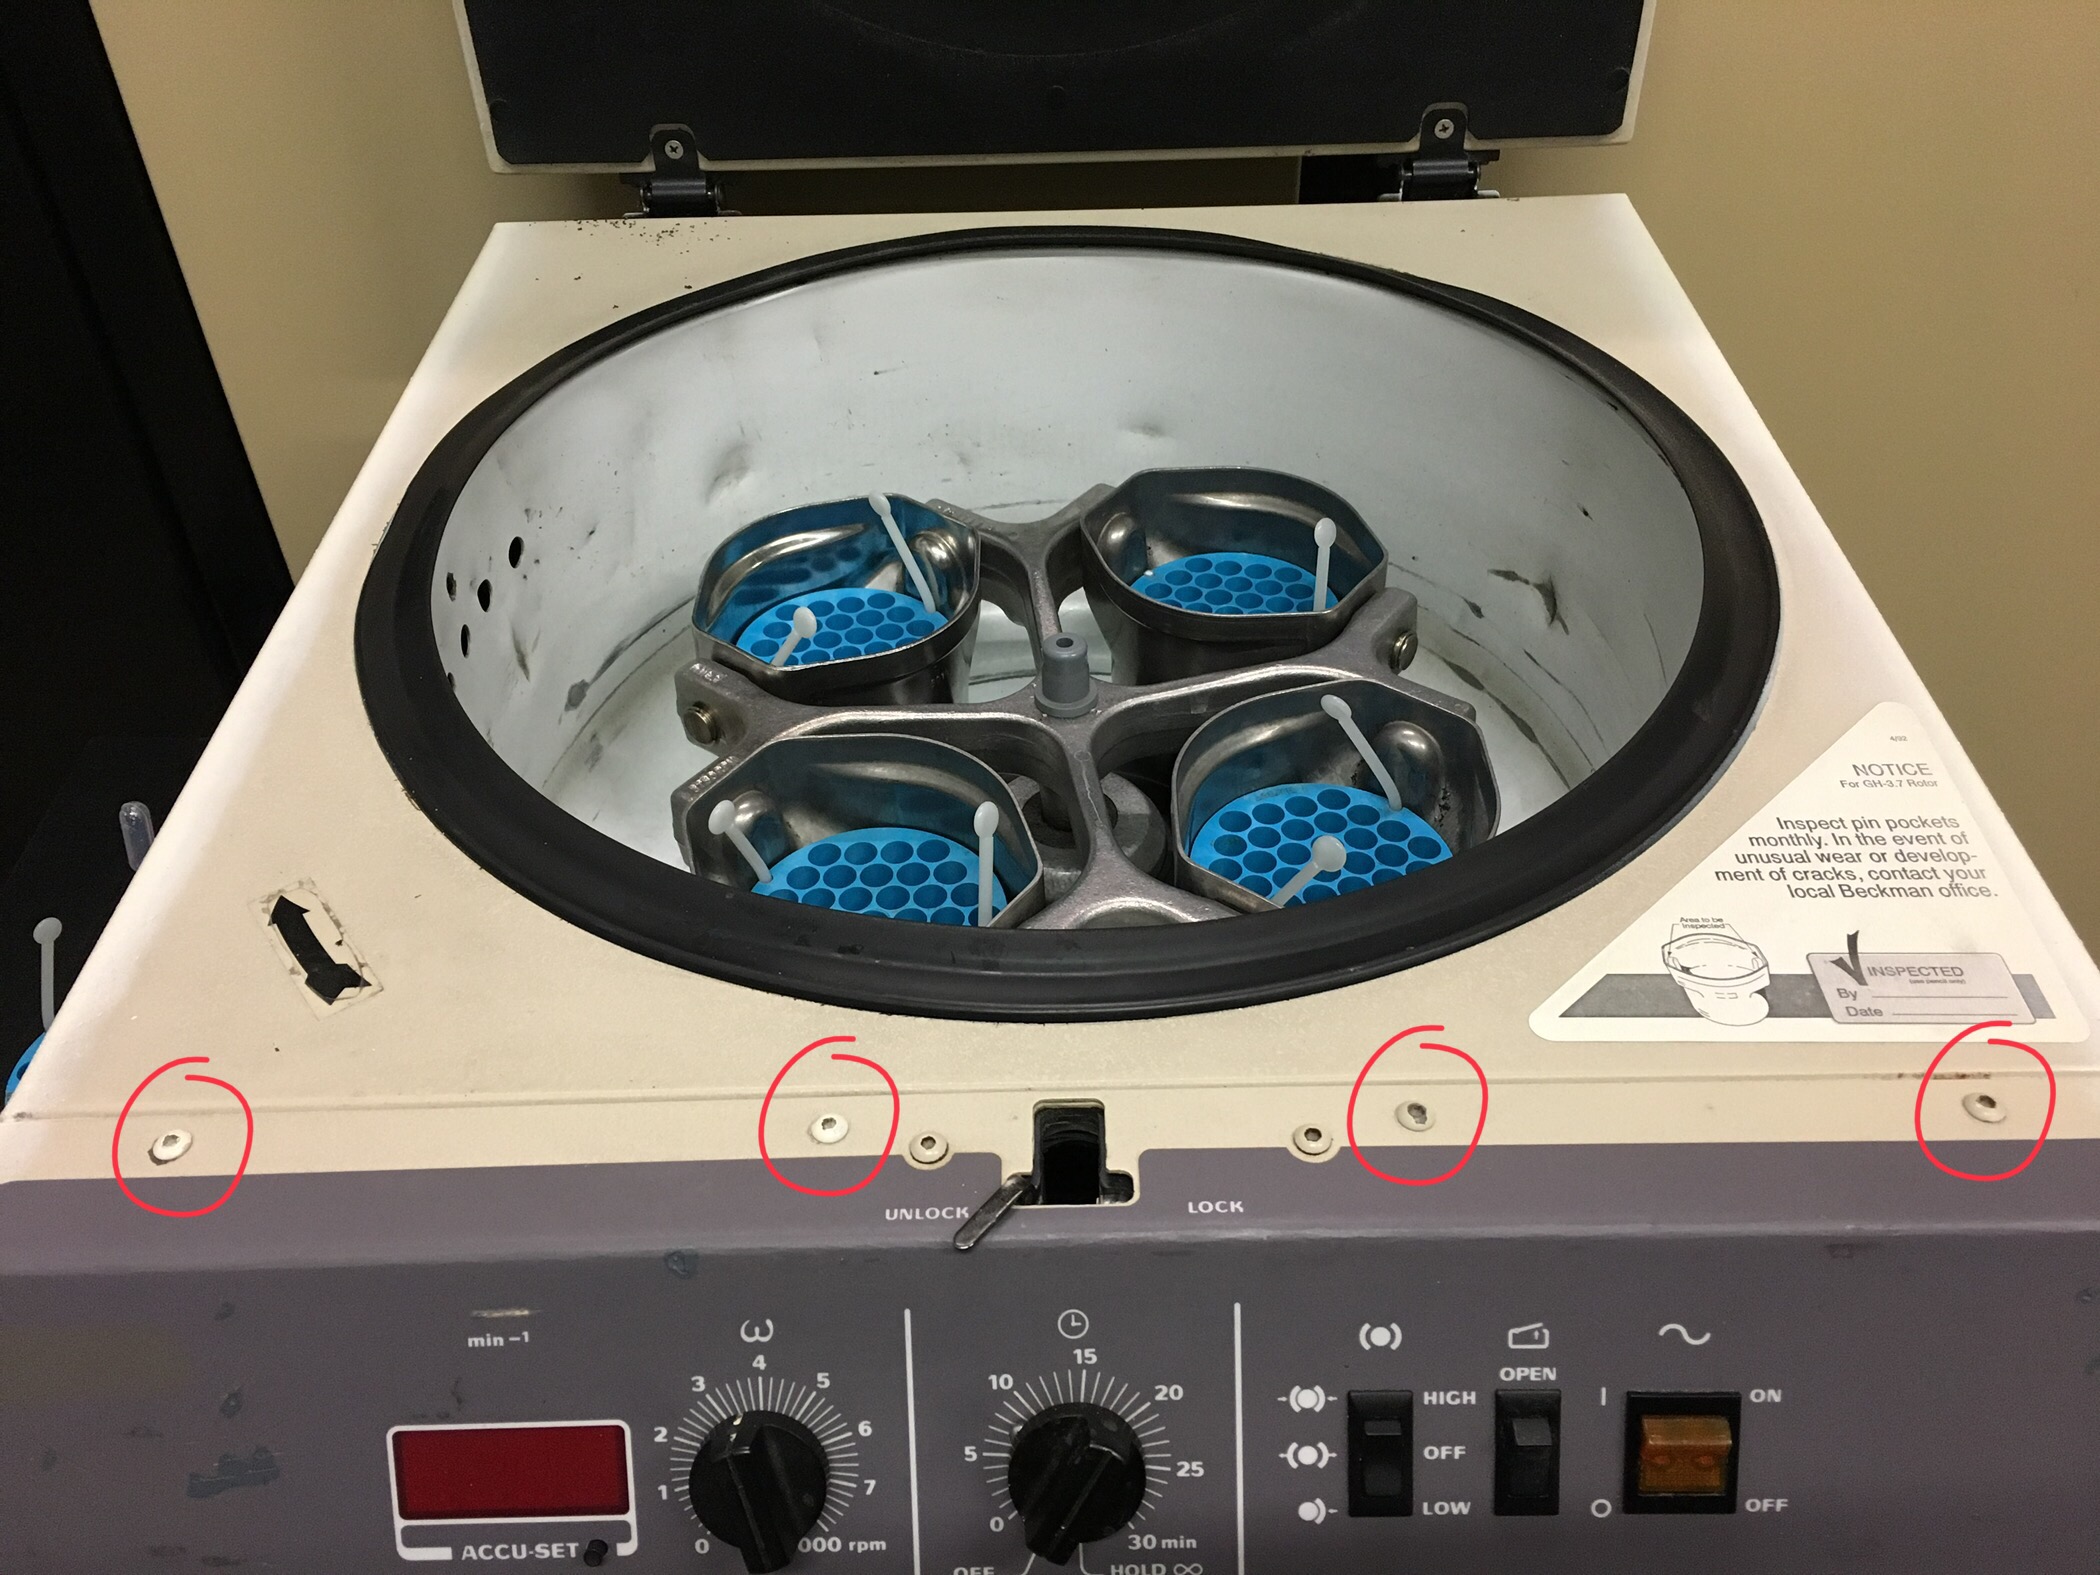
- Remove 14 screws securing the front cover. There are 3 on each side (1/8″ hex key), 4 on the top (1/8″ hex key), and 4 on the bottom (5/32″ nut driver). Don’t remove the middle 2 screws on the top at this point.


- If possible put a cart or table in front of the centrifuge at the same level as the centrifuge bench to hold the front cover as you work. You can also turn the centrifuge on the bench. If you can’t support the front cover at the centrifuge, you will have to disconnect all the internal wiring to take the front cover to another work space.
- Pull the top of the front cover away from the centrifuge and lay it down on the surface in front of the centrifuge.

- Identify the latch assembly. Note the orientation of the assembly and the electrical and ground connections. I always recommend taking a picture before disassembling anything just in case you get mixed up.

- Disconnect the ground and electrical connections.
- Remove the screws securing the latch assembly. Be sure to retain the spacer (small, between the cover and the safety lock assembly), the latch spacer (longer metal tube) and the nut on each screw. You should now be able to remove the latch assembly.

- Install the new latch assembly. Make sure to get the spacers and the safety lock assembly back in place. Be sure that the narrower end of the long latch spacers are properly seated in the holes in the latch housing. Also make sure the actuator of the manual release (looks like a flag or paddle) is between the cable and the latch housing on the side of the latch assembly.

- Adjust release cable tension. The latch won’t lock properly if the release cable is too tight. The release lever should be up against the housing of the latch (to the right in the picture). The manual release actuator may have put enough tension on the cable to pull the lever away from the housing which will prevent the latch from latching and consequently prevent the centrifuge from detecting that the lid is closed. To adjust the cable tension, hold the “stick thing” (I don’t know the proper name of this part) with a pair of needle-nose (or similar) pliers to prevent the cable from twisting and loosen the tension nut until the release lever rests against the latch housing. When you are finished with the adjustment, verify that there is still enough tension in the cable for the manual release to work.

- Reassemble the centrifuge and test.
- Verify that the lid latches.
- Verify proper function of the manual release.
- Verify that the door open switch releases the latch.
- Verify that the centrifuge starts spinning when the lid is closed, the safety lock is in the locked position, the speed knob is turned away from zero, and the timer knob is turned away from the off position.


